
快速配置后端服务器
我们使用node+express快速创建一个后端服务。
创建一个名字server的目录,执行npm init -y ,将会创建一个 package.json 文件。
npm init -y
Wrote to /Users/hedy/Projects/node/server/package.json:
{
  "name": "server2",
  "version": "1.0.0",
  "description": "",
  "main": "index.js",
  "scripts": {
    "test": "echo \"Error: no test specified\" && exit 1"
  },
  "keywords": [],
  "author": "",
  "license": "ISC"
}
- 安装express
npm install express
创建一个index.js文件并编写以下代码:
const express = require('express');
const app = express();
const port = 3000;

app.get('/', (req, res) => res.send('Hello World!'));

app.listen(port, () => console.log(`Example app listening on port ${port}!`));
然后启动服务
node index.js
Example app listening on port 3000!
通过浏览器访问http://localhost:3000,如果显示“Hello World”,则说明Express服务器已正常启动。
为了更好的开发体验,我们安装一下热加载的nodemon
npm install --save-dev nodemon
安装后在package.json中配置脚本
{
  "name": "server",
  "version": "1.0.0",
  "description": "",
  "main": "index.js",
  "scripts": {
    "dev": "nodemon index.js"
  },
  "keywords": [],
  "author": "",
  "license": "ISC",
  "dependencies": {
    "express": "^4.18.3"
  },
  "devDependencies": {
    "nodemon": "^3.1.0"
  }
}
然后直接运行 npm run dev 命令启动 Express 服务器。
创建一 public目录并将 index.html移动到public目录。
const express = require('express');
const app = express();
const port = 3000;

app.use(express.static('public'));

app.listen(port, () => console.log(`Example app listening on port ${port}!`));
index.html 文件包含以下代码:
<!DOCTYPE html>
<html lang="en">
<head>
  <meta charset="UTF-8" />
  <meta name="viewport" content="width=device-width, initial-scale=1.0" />
  <title>Document</title>
  <script
          src="https://unpkg.com/htmx.org@1.9.10"
          integrity="sha384-D1Kt99CQMDuVetoL1lrYwg5t+9QdHe7NLX/SoJYkXDFfX37iInKRy5xLSi8nO7UC"
          crossorigin="anonymous"
  ></script>
</head>
<body>
  <h1>HTMX</h1>
  <button
          hx-get="https://jsonplaceholder.typicode.com/users/1"
          hx-target="#h2">
    Click
  </button>
  <h2 id="h2">在此显示数据</h2>
</body>
</html>
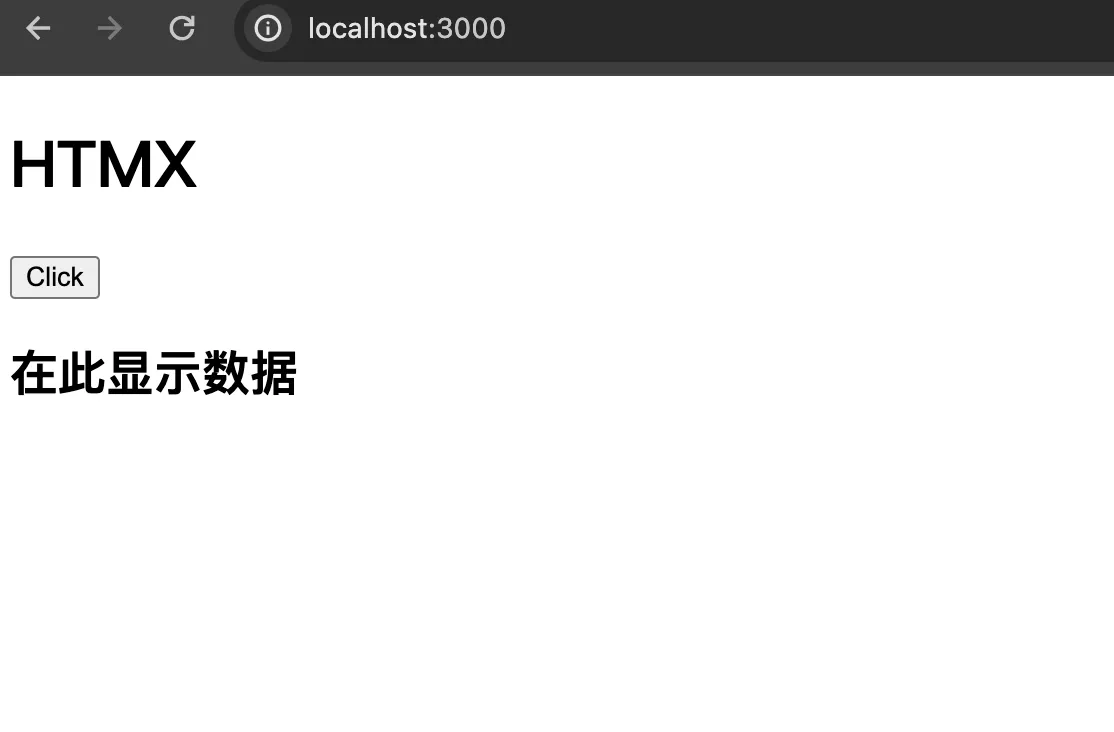
从浏览器访问http://localhost:3000时,将显示以下内容:
HTMX的操作
使用Express设置的后端服务,我们现在可以利用后端服务进行HTMX的操作确认。
返回 HTML
在Express中添加新的路由,当访问该路由时设定返回HTML。 在span标签中使用style属性设置字体颜色。
const express = require('express');
const app = express();
const port = 3000;

app.use(express.static('public'));

app.get('/greeting', (req, res) =>
  res.send('<span style="color:red">Hello HTMX!</span>')
);

app.listen(port, () => console.log(`Example app listening on port ${port}!`));
在index.html中,将hx-get设置的URL更改为“/greeting”。
<h1>HTMX</h1>
  <button
          hx-get="/greeting"
          hx-target="#h2">
    Click
  </button>
  <h2 id="h2">在此显示数据</h2>
访问http://localhost:3000查看运行情况, 点击按钮,可以看到一下效果:

将 hx-swap 属性添加到按钮元素,设置为outerHTML:
<button hx-get="/greeting" hx-target="#h2" hx-swap="outerHTML">click</button>
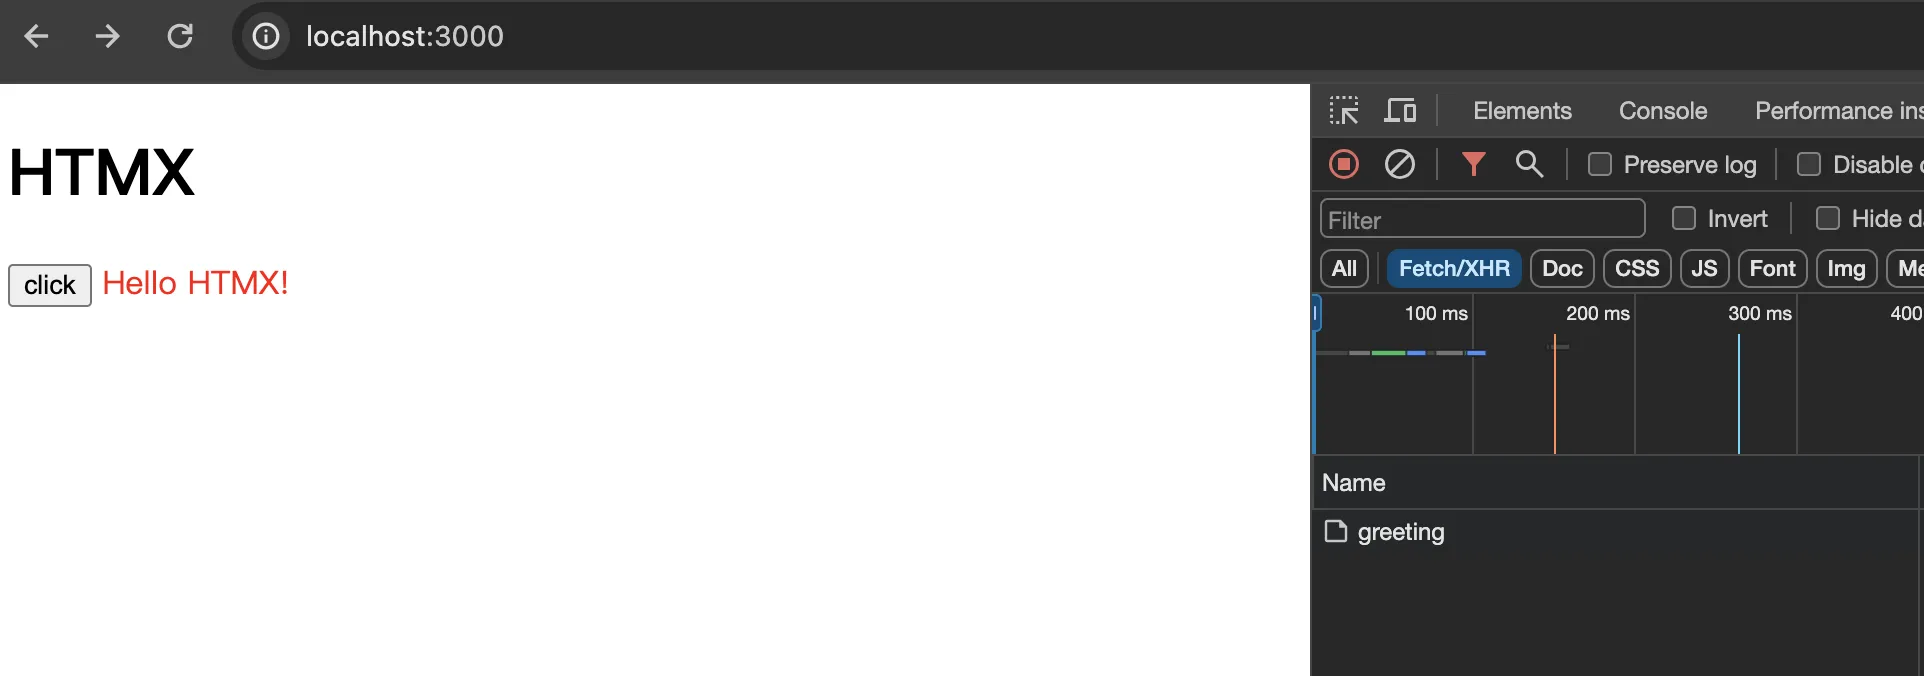
它将显示在Click按钮旁边。
加载显示
如果您想在向服务器发送请求后和返回数据之前显示加载指示器,您可以使用 HTMX 轻松实现此目的。
使用Promise配置服务器端在收到请求后等待2秒才返回。
app.get('/greeting', async (req, res) => {
  await new Promise((resolve) => setTimeout(resolve, 2000));
  res.send('<span style="color:red">Hello HTMX!</span>');
});
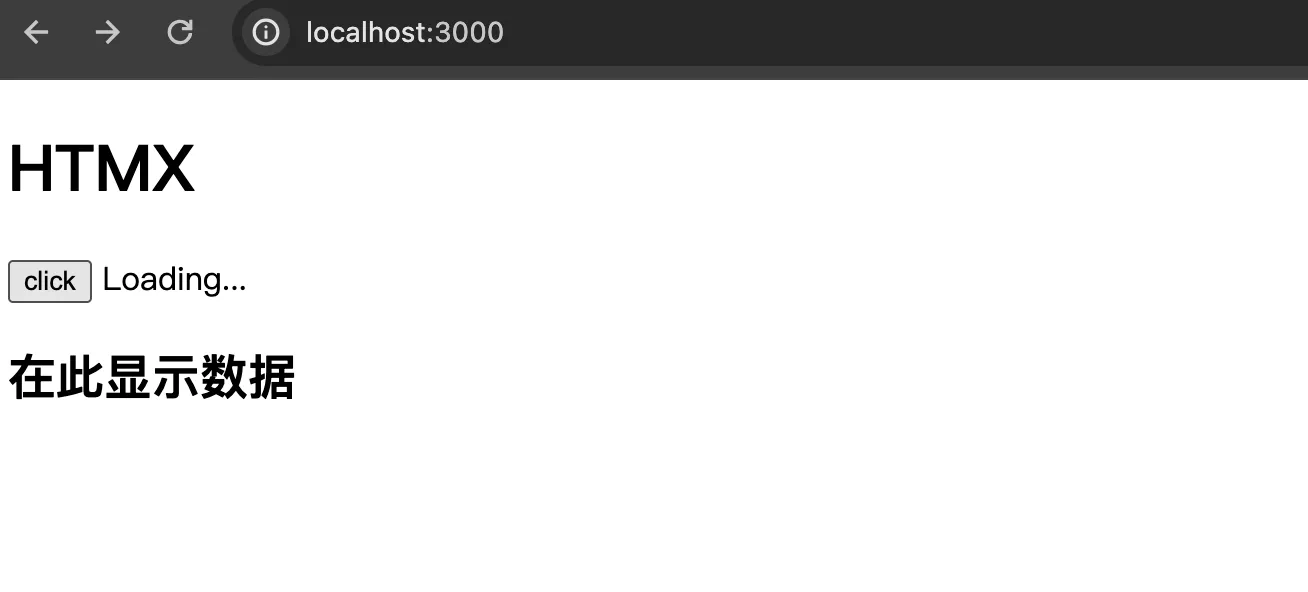
添加一个显示loading指示器的span标签,并在其class中添加htmx-indicator,并设置id。设置htmx-indicator为class是必须的。通过使用这个class,HTMX可以切换显示和隐藏。
<button hx-get="/greeting" hx-target="#h2" hx-indicator="#indicator">click</button>
  <span class="htmx-indicator" id="indicator">Loading...</span>
  <h2 id="h2">在此显示数据</h2>
当你点击“Click”按钮时,将会显示“Loading…”的文字。待请求完成后,“Loading…”的文字则会消失。
hx-trigger属性
点击按钮后会发送请求,但是可以通过hx-trigger来设置发送请求的事件。
如果你想在鼠标悬停在按钮上时发送请求,可以将hx-trigger属性设置为mouseover实现这一功能。
<button
  hx-get="/greeting"
  hx-target="#h2"
  hx-indicator="#indicator"
  hx-trigger="mouseover"
>
  Click
</button>
显示列表
通过从后端服务器访问JSONPlaceHolder接口,在服务器上将获取到的JSON数据转换为HTML并返回,就可以在浏览器上显示用户列表。
<body>
  <h1>HTMX</h1>
  <button
    hx-get="/users"
    hx-target="#users"
    hx-indicator="#indicator"
    hx-swap="innerHTML"
  >
    Click
  </button>
  <span class="htmx-indicator" id="indicator">Loading...</span>
  <h2>用户列表</h2>
  <ul id="users"></ul>
</body>
在服务器端,使用fetch函数访问JSONPlaceHolder,将获取到的数据转换为HTML,然后返回。
app.get('/users', async (req, res) => {
  const response = await fetch('https://jsonplaceholder.typicode.com/users');
  const users = await response.json();
  const html = `${users.map((user) => `<li>${user.name}</li>`).join('')}`;
  return res.send(html);
});
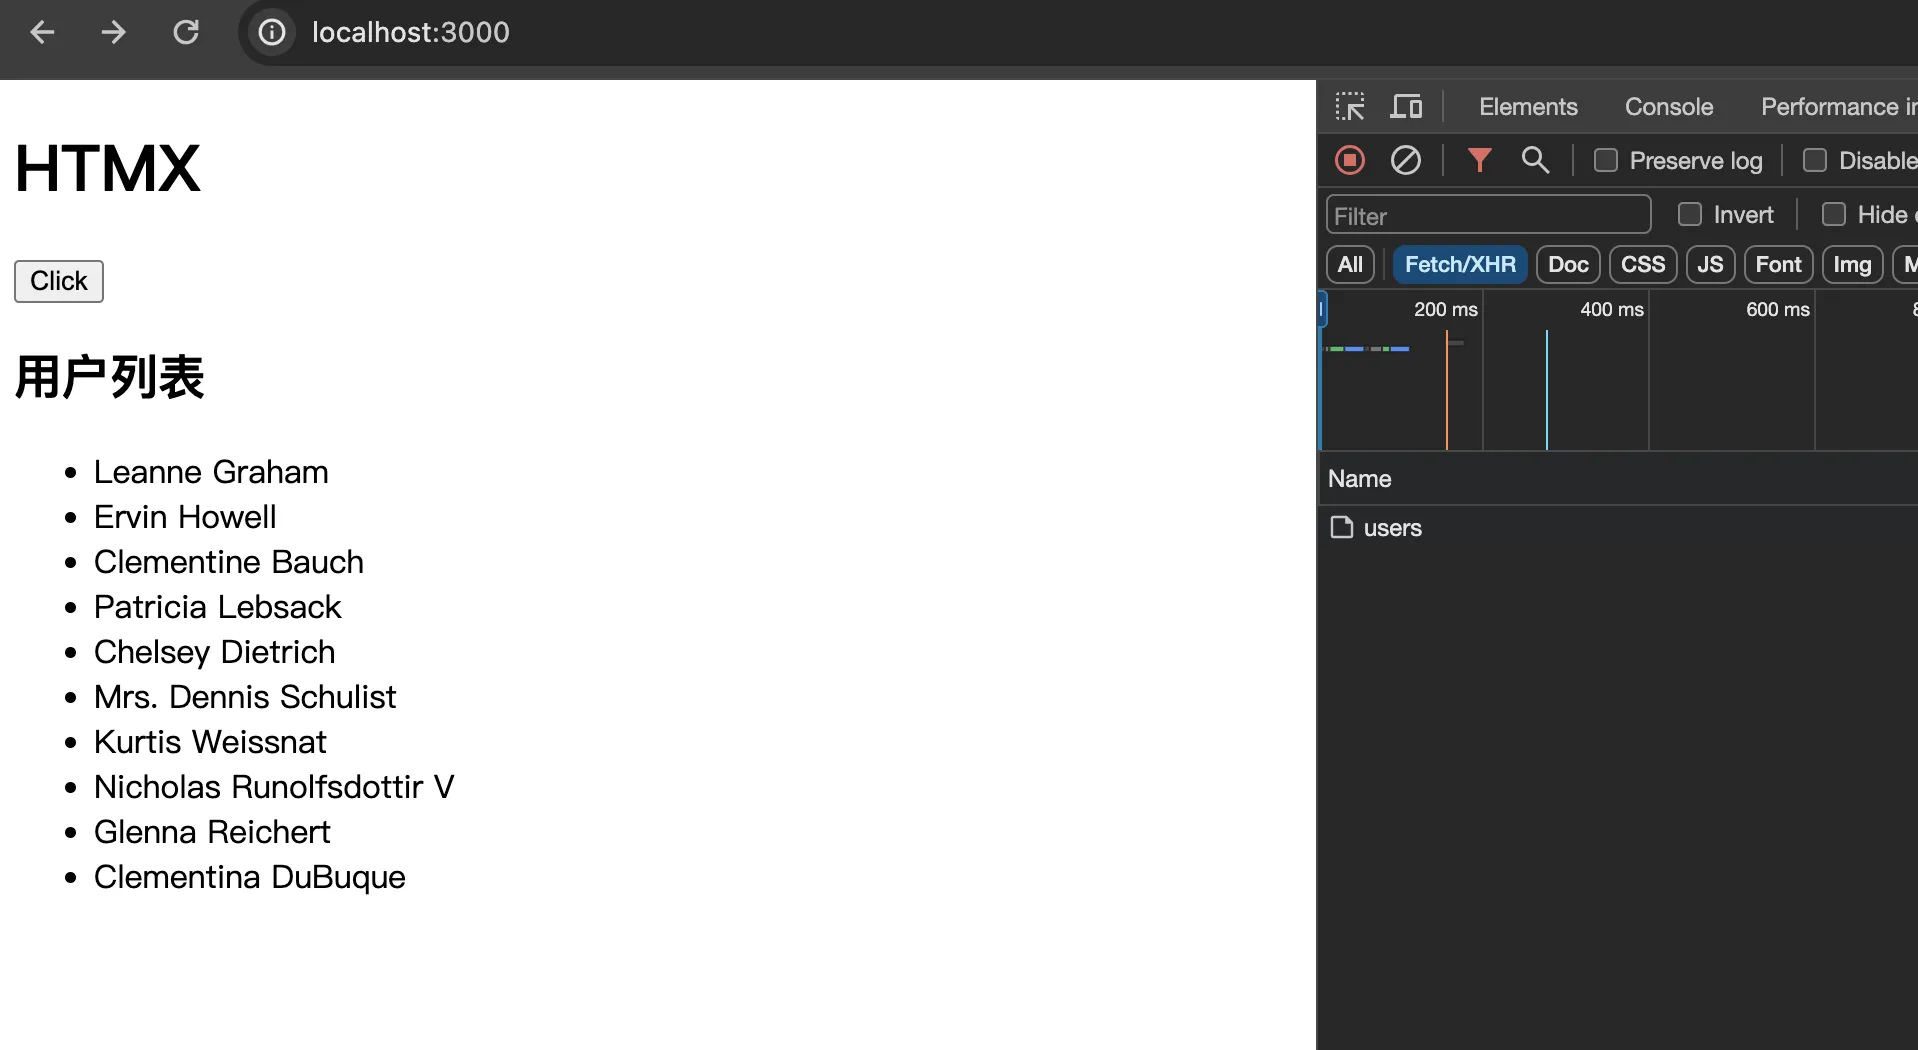
当您单击浏览器上的“单击”按钮时,将显示用户列表。

评论(0)